Building SimpleITK on Windows
This page describes how to build a SimpleITK SuperBuild on Windows. To build SimpleITK we use CMake to generate a Visual Studio project, and Visual Studio to compile the C/C++ code. To obtain the SimpleITK source code see Source code.
CMake GUI on Windows
The Windows version of CMake includes a graphical-user-interface (GUI) version of the program, in addition to the standard command-line CMake. Here is what the CMake GUI looks like:
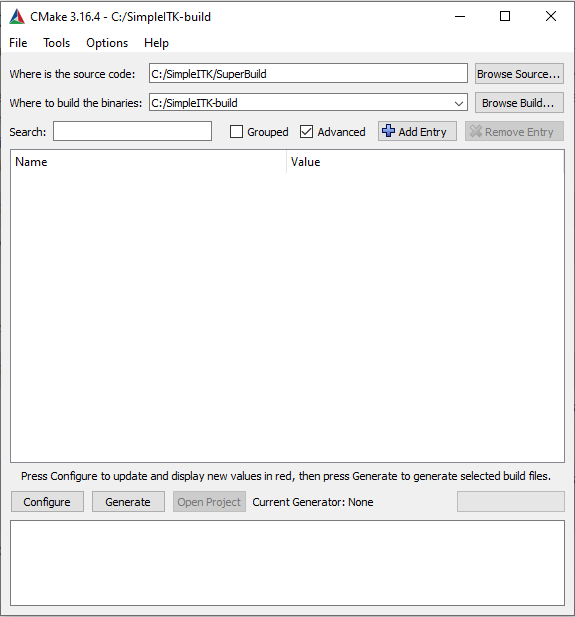
In the above example, the source directory is C:/SimpleITK/SuperBuild, and the
build directory is C:/SimpleITK-build. It is best to place the source
and build directories at the root of a volume to minimize path name lengths.
Windows has a default max path length
of 260 characters, and ITK has long paths which can cause build issues.
See Windows Path Length for more information.
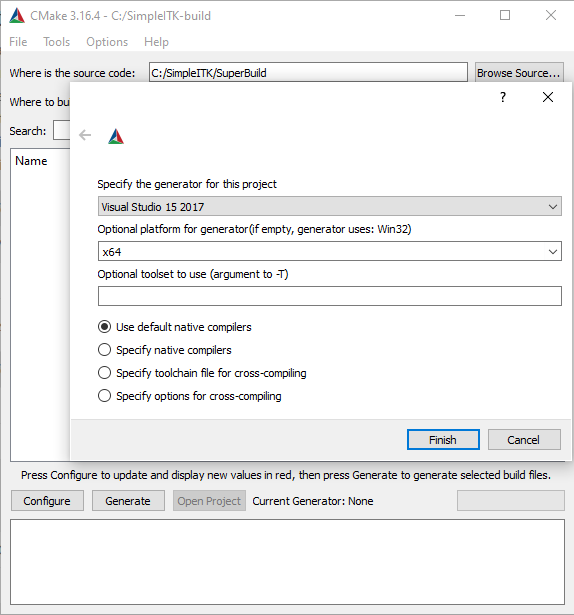
After the user specifies the source and build directories, CMake will ask to select which compiler generator to use. The options are determined by what versions of Visual Studio are installed on the system. The user must specify x64 for the platform version, since the default option (x86) is not supported by SimpleITK.
Configuring and Generating the Build
The next steps are the configuration and generation processes. By clicking
the Configure button, cmake reads the CMakeLists.txt file and sets up all
the variables in the CMake cache (CMakeCache.txt). Then when the Generate
button is clicked, CMake creates the Visual Studio build system.
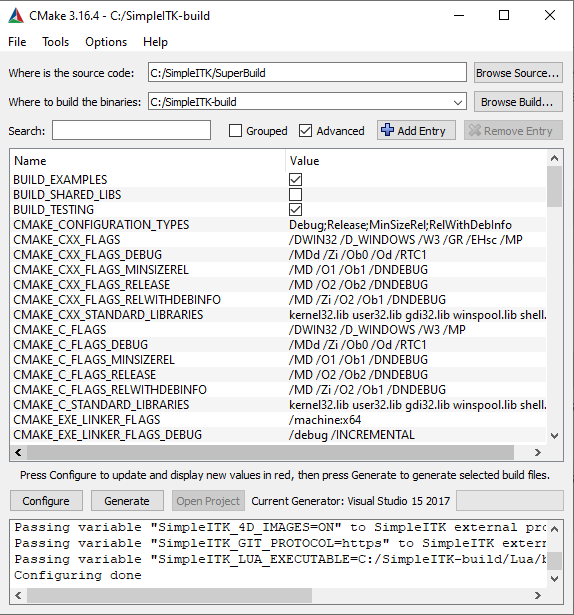
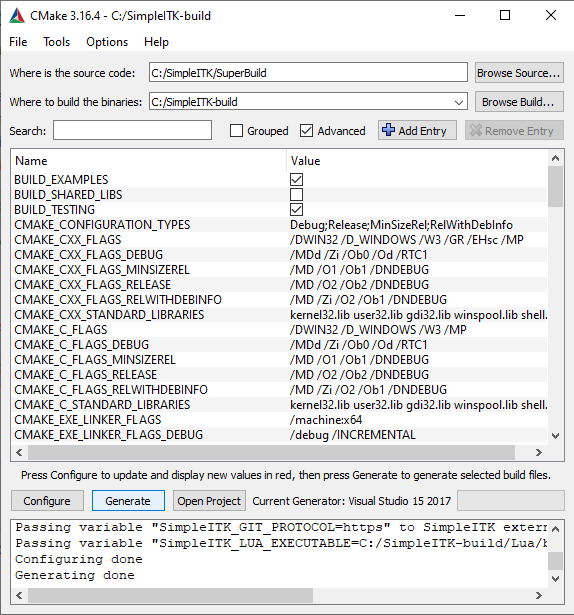
The left image of the above figure is the result of the configure process, and on the right is the result of the generation process.
Note for the CMAKE_CXX_FLAGS and CMAKE_C_FLAGS variables, we have appended the ‘/MP’ flag, enabling multiple processor when building with Visual Studio. This flag is not enabled by default.
Building SimpleITK in Visual Studio
After CMake has completed the generation process, the user can actually build SimpleITK with Visual Studio. The user should select a build type in Visual Studio. We recommend choosing Release or MinSizeRel (release with minimum size), since the performance of SimpleITK with the Debug option is several orders of magnitude slower. Also the user must select the x64 build platform, since the default platform (x86) is not supported by SimpleITK.
Many man hours and cpu cycles have been wasted building SimpleITK without setting the proper platform.
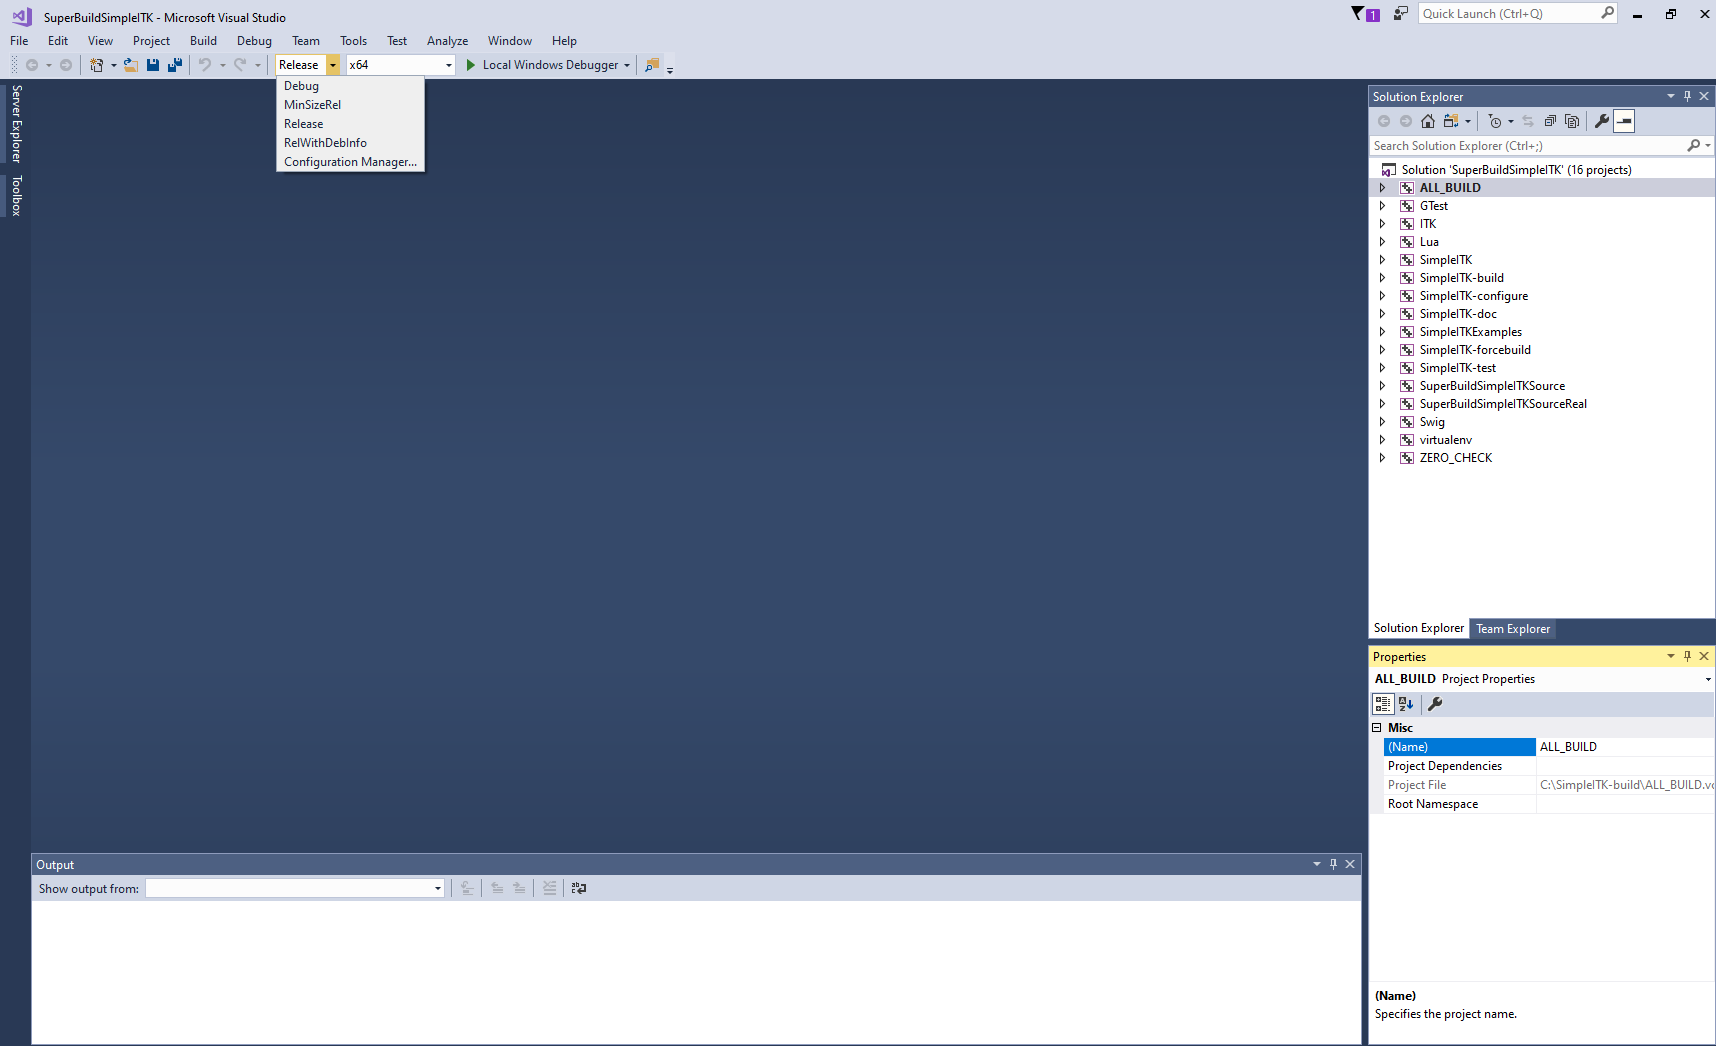
To begin the build process in Visual Studio, select Build ALL_BUILD in the Build menu.
Once the build has completed with no failures, the build can be verified with the following commands entered in a PowerShell:
cd C:\SimpleITK-build\SimpleITK-build
ctest -R Release
Running ctest executes all the built in test code for SimpleITK, more than 500 tests for the core C++ code, and approximately another 500 tests per wrapped language (e.g. Python, CSharp, R, Lua, etc.).
These commands assume that the SimpleITK build directory is
C:\SimpleITK-build and that the build is a Release build.